You are here: Function Descriptors > Functions

Function Descriptors

The following Function Descriptors can be configured in Idealpos (click on any Function Descriptor to quickly jump to the Function Descriptor and find out more):


Return to top


Paid Out 1 > 4

The Paid Out Functions allow for the operator to remove funds from the cash drawer, and have all details accounted for.

The function can be named whatever the operator wishes, but it will perform the same way regardless.


Some examples of the Paid Out Function are Tips Out, Petty Cash, Delivery Charge and Paid Out.


Return to top


Received Account 1 > 4

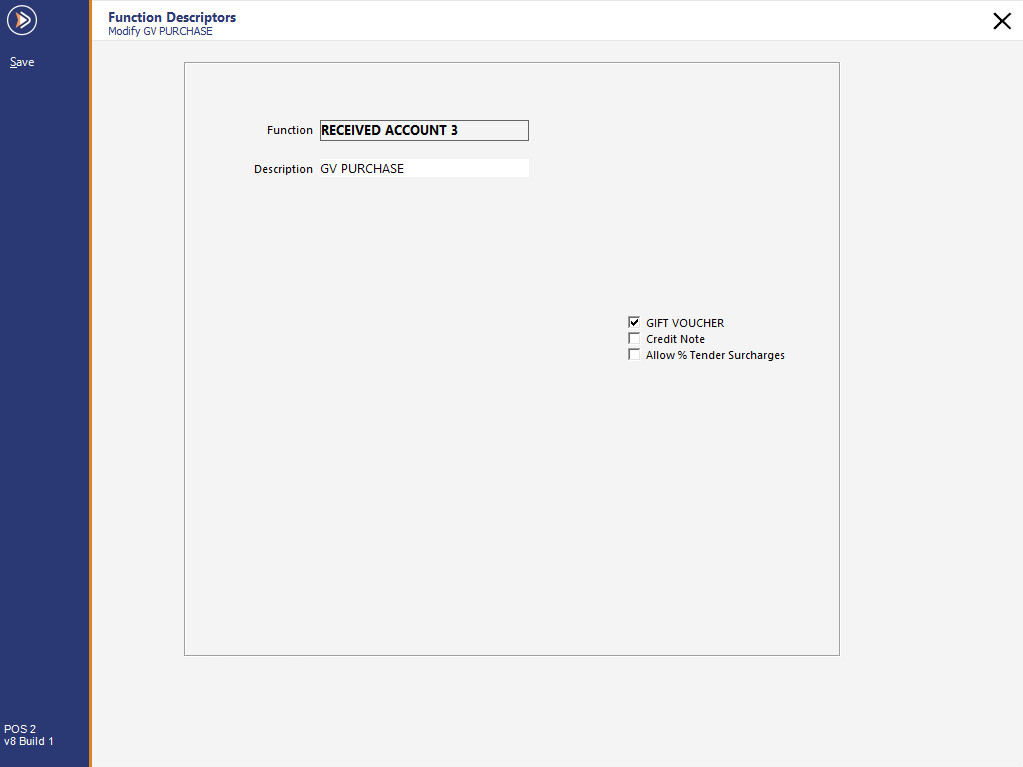
The Received Account Functions allow the operator to received funds into the cash drawer and have all details accounted for.

They can also be used for more specific functions like Credit Notes and Gift Vouchers.


Some examples of the Received Account Function are Tips In, Paid In, Credit Notes and Gift Vouchers.


Return to top


No Sale 1 > 4

The No Sale Functions allow the cash drawer to be opened where cash can be exchanged, removed or added for various reasons.

User Permissions are also able to control which clerks can use each No Sale function.


Some examples of No Sale Functions are Change, Cash Drop, Wrong Amount Calculated.

These functions will all display on the financial report and enable managers to view what each clerk is using the functions for.


Return to top


Void

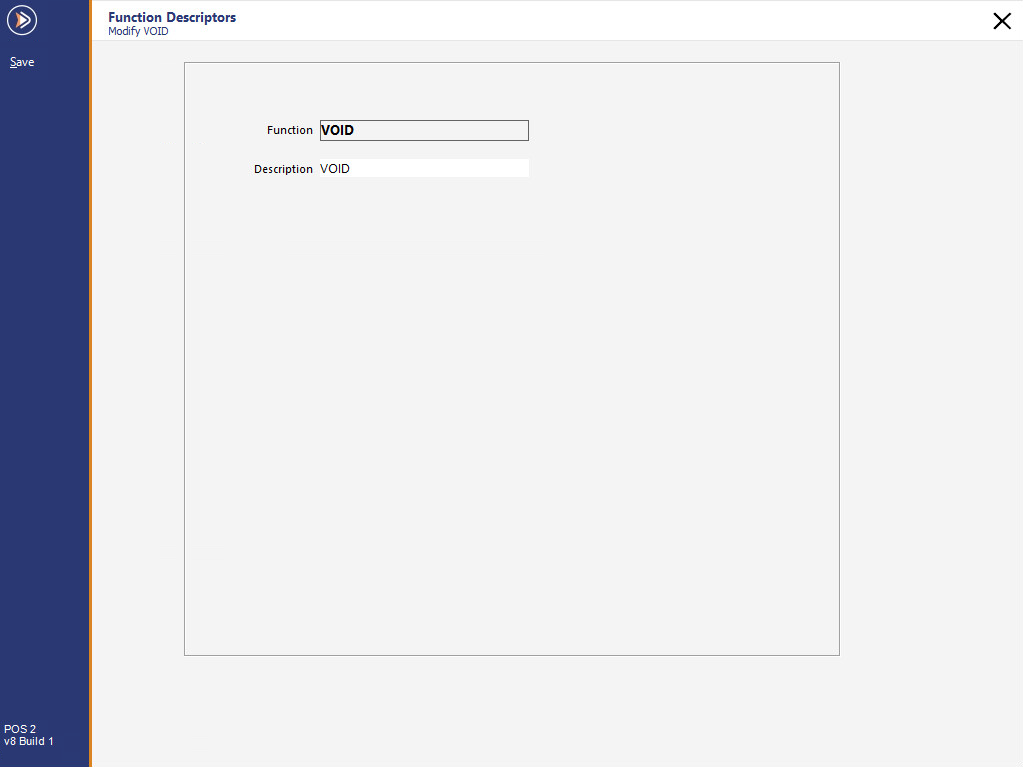
The Void Function allows for clerks to remove items from the sale screen before the sale has been finalised.


Return to top


Refund

The Refund Function allows for clerks to return goods back into stock and return the customers money to them.


Return to top


%+ Item

The %+ Item Function allows the clerk to add a surcharge as a percent amount to an item within the sale.

Changing the Description will change the details that are displayed on the POS Screen.


Return to top


%+ ST

The %+ Subtotal Function allows the clerk to add a surcharge as a percent amount to a sale.

Changing the Description will change the details that are displayed on the POS Screen.


You have the option to Exclude % Amount if required.


Return to top


Tender 1 – Cash

The Tender Function for Cash is a special tender that is the default. There are limited options available when using the Cash Tender.


Description – Change the description that is recorded in the financial details and POS Screen.

# of Receipts – Enter the total number of receipts that you want to print when using this function. This does not force a receipt.

Lower Limit – This is a dollar figure that is the minimum that must be used before this tender can be used.

Upper Limit – This is the dollar figure that is the maximum amount that can be used for this tender.

Discount % – Enter an amount to enable a percentage discount on the cash tender. When paying for a sale using Cash, the total sale amount will be discounted by the percentage that has been configured. This discount option is only available on the Cash Tender and does not affect other Tenders.


Allow Points per Dollar – This checkbox allows for sales of this tender type to accumulate points for Customer Loyalty.

Compulsory Amount – This checkbox will require the clerk to manually enter the amount to charge to the tender before the sale will calculate it.

Open Cash Drawer – This checkbox will force the cash drawer to open on this tender.

Force Receipt – This checkbox will force a receipt to print to the default receipt printer.

Force Customer – This checkbox will block this tender from being used if a Customer has not been added to the current Transaction.

Force Reference – This checkbox will force the operator to enter a reference against a sale whenever it has been used.


Return to top


Tender 2 > 18

The Tenders Functions allow you to create multiple Tenders that differentiate between the multiple types of payments available to the customer.


Description – Change the description that is recorded in the financial details and POS Screen.

# of Receipts – Enter the total number of receipts that you want to print when using this function. This does not force a receipt.

Exchange Rate – This can be set to change the amount to the correct rate required for international sales. The Exchange Rate is the value of a single unit of the foreign currency converted into the local currency.
E.g. A venue in Australia accepts USD currency. 1 AUD equals 1.40USD. In this example, you would enter 1.40 into the Exchange Rate.
Note that when accepting foreign currency as payment, any change given to the customer needs to be in the local currency.

Lower Limit – This is a dollar figure that is the minimum that must be used before this tender can be used.

Upper Limit – This is the dollar figure that is the maximum amount that can be used for this tender.

Scan Code – Allows you to have a set scan code to be used for the tender. This may be a voucher.

Scan Code Amount – Allows you to set an amount of each different Scan Code that is added.

Surcharge – Allows you to charge a flat Dollar amount, or fluctuating percent amount to certain sales, to make up for any third party charges that may be incurred by you to accept this type of payment.

Note!

In Idealpos v8 Build 16 r.2 and newer, it is possible to Skip Tender Surcharges via a User-Defined Option per-POS Terminal.

When this option is enabled, the Surcharge that is entered in the Surcharge field will be ignored and no surcharge will be applied when tendering a sale on the POS Screen.

This will prevent Surcharges from being applied to ALL TENDERS!.

To configure this option, go to: Back Office > Setup > POS Terminals > Select a POS Terminal > Modify > POS Settings.

On the bottom-left corner of the window, create the following User Defined Option:

Description: SKIPTENDERSURCHARGE

Setting: 1


Waive Surcharge Threshold - Allows you to set an amount where a Surcharge will apply when the amount tendered is less than the amount configured in this field. E.g. If an amount of 10.00 is entered into the Waive Surcharge Threshold, an amount of 9.99 or less paid using this tender will have the Surcharge applied to it and any amount of 10.00 or greater paid using this tender will be exempt from the Surcharge.

Override Receipt Footer – This option allows you to have a custom receipt footer that will print when a specific Tender is used. If there is already a footer configured by default, when the Tender is used, it will be overridden by the Tender footer. Only the Footer text values will be overridden, any logos will still print.

User-Defined Text - This option allows you to enter text that adds custom features or behaviour that is not available in a standard Idealpos installation.

User-Defined Text to Override Receipt Footer on Tender by Receipt Footer - The Receipt Footer can be overridden using the Override Receipt Footer field outlined above. However, this will apply to all POS terminals. Therefore, a User-Defined option can be entered to override the receipt footer for only specific POS terminal numbers. You can enter individual POS Terminal Numbers as a comma separated list, or you can enter a range of POS terminal numbers. If required, you can combine both methods together by specifying both a range of POS terminal numbers as well as a comma separated list.

See examples listed below. When entering the setting into the User-Defined Text field, ensure that you enter the square brackets and the value shown within the square brackets. Enter the POS terminal numbers that you require when configuring your system.

[OVERRIDERECEIPTFOOTERPOS=1] – This will override the receipt footer on POS terminal 1 only.

[OVERRIDERECEIPTFOOTERPOS=1,2,3,4,5] – This will override the receipt footer on POS terminals 1, 2, 3, 4 and 5.

[OVERRIDERECEIPTFOOTERPOS=1-5] – This will override the receipt footer on all POS terminals between 1 to 5.

[OVERRIDERECEIPTFOOTERPOS=1-2,4,5] – This will override the receipt footer on POS terminals between 1 to 2 and POS terminals 4 and 5.


Rounding – This checkbox allows the tender to be rounded up or down depending on the subtotal.

Credit Function – This checkbox used to apply in older version of Idealpos.

Allow Points per Dollar – This checkbox allows for sales of this tender type to accumulate points for Customer Loyalty.

Show in Banking – This checkbox will display the amount tendered as what should be included when banking.

Compulsory Amount – This checkbox will require the clerk to manually enter the amount to charge to the tender before the sale will calculate it.

Open Cash Drawer – This checkbox will force the cash drawer to open on this tender.

EFTPOS – This checkbox will allow the tender to use Integrated EFTPOS and perform additional EFTPOS functions.

Account Tender – Only one tender is able to be selected as Account. This will allow sales to be credited to the customer account.

Layby Tender – Only one tender is able to be selected as Layby. This will allow sales to be saved to layby, with payments made in the future for the purchase of goods.

Force Receipt – This checkbox will force a receipt to print to the default receipt printer.

Gift Voucher Redemption – Allows the tender to accept Idealpos issued Gift Vouchers as tenders.

Credit Note Tender – Allows the tender to accept Idealpos issued Credit Notes as tenders.

Force Customer – This checkbox will block this tender from being used if a Customer has not been added to the current Transaction.

Force Reference – This checkbox will force the operator to enter a reference against a sale whenever it has been used.

Allow Overcharging To Tips – When this option is enabled and the total amount tendered at the end of the sale exceeds the total amount due, a prompt will be displayed showing the amount that has been Over-Tendered and you will be asked if you want to convert this amount to a tip. Pressing Yes will result in the extra amount being added to the sale as a TIPS IN.

Enable Customer Tipping – When this option is enabled, a Customer Tipping prompt will be displayed on both the POS Screen and Customer Display when the Clerk selects this tender from the list of Tender Types during the payment of a sale.
In order to specify which Tender Types will display the Customer Tipping prompt with this option, you will need to DISABLE/uncheck "Enable Customer Display Tipping" via Setup > POS Terminals > Select POS Terminal > Modify > Display/Kiosk.
If you do not uncheck the "Enable Customer Display Tipping" option in the POS Terminal Settings, the Customer Tipping prompt will be displayed for all Tender Types, regardless of whether or not the "Enable Customer Tipping" option has been enabled for specific Tender Types. It should also be noted that Overtendering when Customer Tipping has been enabled is not supported.

Give Change in Local Currency - This option is available from Idealpos v8 Build 10 and newer. Enabling this checkbox will enable over-tendering on the selected Tender Type and give the change in local currency (i.e. CASH).
Note that the following logic applies to each tender when over-tendering.
Cash Tender - When over-tendered, change is given in Cash.
EFTPOS Tender - When over-tendered, change is given in Cash.
Credit/Non-Credit Tender - Does not give change, unless the 'Give Change in Local Currency' option is enabled.


Return to top


Amount

The Amount function is used to change the price of an item before it is added to the sale.


Return to top


Acc/LB Payment

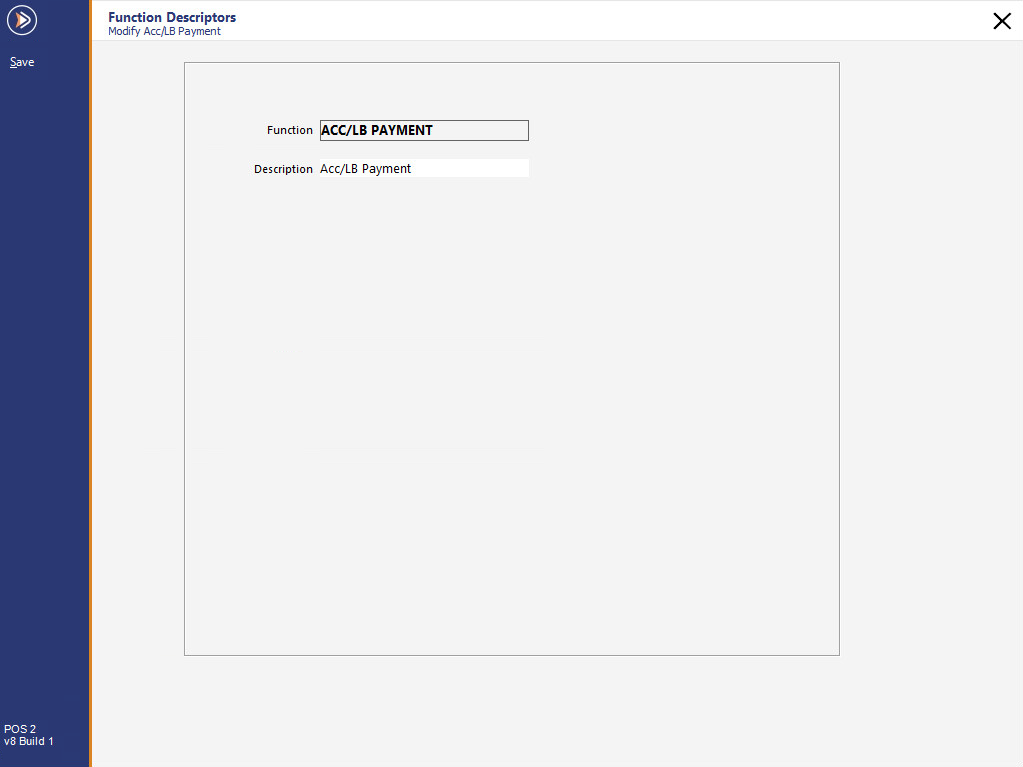
The Acc/LB Payment function allows the clerk to receive payments on Accounts and Laybys for Customers.


Return to top


Acc/LB Credit

The Acc/LB Credit function allows the clerk to perform credits on Accounts and Laybys for Customers.


Return to top


Acc/LB Adjustment

The Acc/LB Adjustment function allows the clerk to perform adjustments on Accounts and Laybys for Customers.


Return to top


LB Cancellation

The LB Cancellation function allows the clerk to cancel a Layby.


Return to top


Redeem Points

This function allows you to redeem points through loyalty.


Return to top


Tax Invoice

The Tax Invoice function allows for a tax invoice to be printed by the clerk.


Return to top


Pending Sale

The Pending Sale function allows the clerk to be able to save a sale for later finalisation.


Return to top


Item Discount 1 > 4

The Item Discount functions allow you to offer 4 different types of discounts for different reasons.


Return to top


ST Discount 1 > 4

The ST Discount functions allow you to offer 4 different types of discounts for different reasons.


Return to top


Delivery Docket

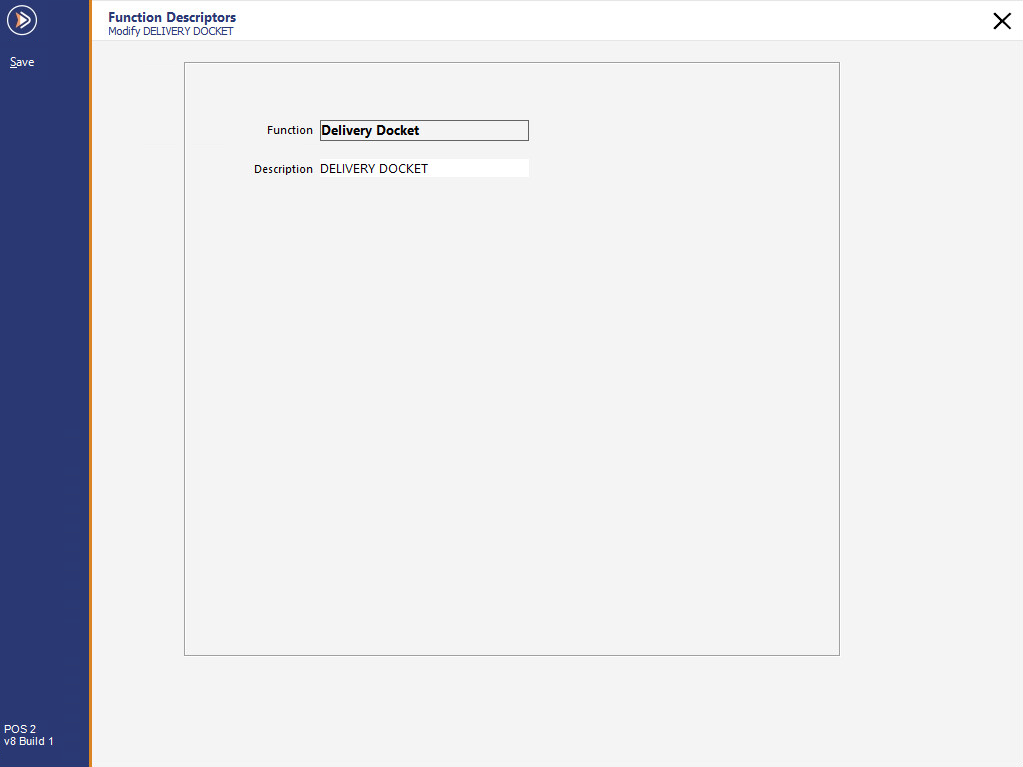
The Delivery Docket function allows the operator to print a docket which displays the Customer address.


Return to top


Hold Print

The Hold Print function allows the clerk to hold multiple order numbers until the last person for that order number has finished their transaction.


Return to top


Gift Voucher

This function allows you to change the name of the Gift Voucher function to be something more fitting.


Return to top


Gratuity Text

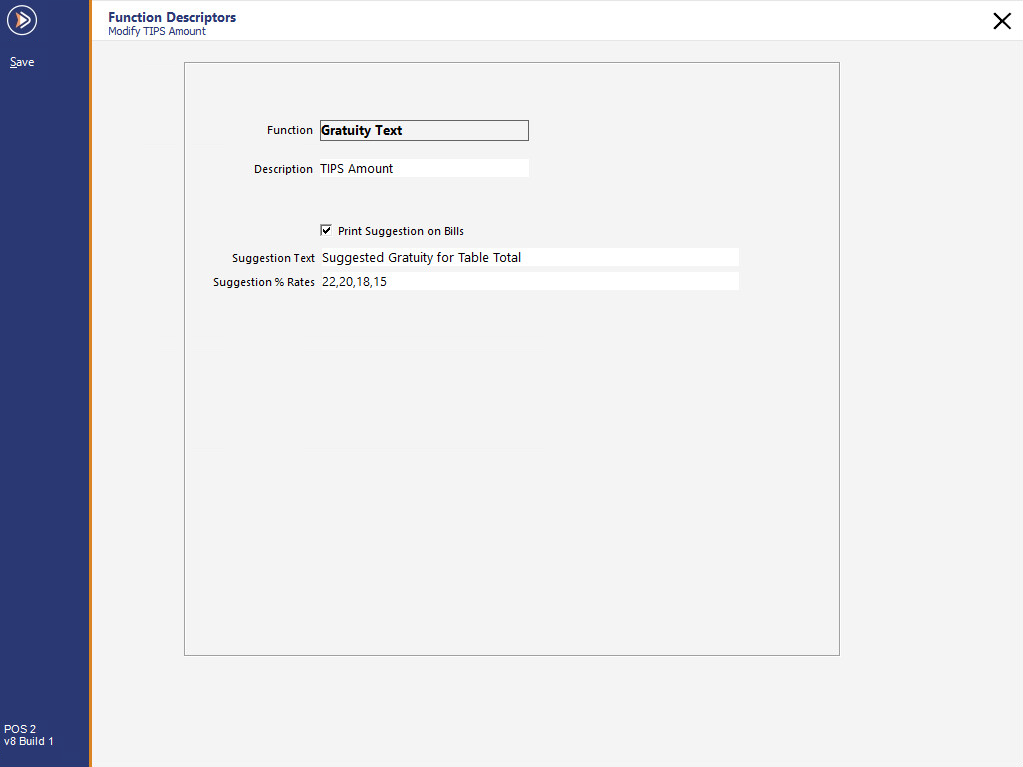
This function allows you to change the name of the TIPS Amount that prints at the bottom of Bills.

It can also be used to enable and configure Suggested Gratuity Text and Rates which will be printed at the bottom of Bills.

Gratuity Text will be printed at the bottom of a Bill when a Bill is printed from Restaurant/Table Maps, Pending Sales or the Handheld app.


Print Suggestion on Bills - Toggle this option on or off to control whether or not the Gratuity Suggestions will be printed at the bottom of bills.

Suggestion Text - Enter the text that you want to have printed above the Gratuity Suggestion % Rates.

Suggestion % Rates - Enter the suggested rates that you want to have printed at the bottom of the bill. Multiple rates can be entered separated by a comma. E.g. 22,20,18,15


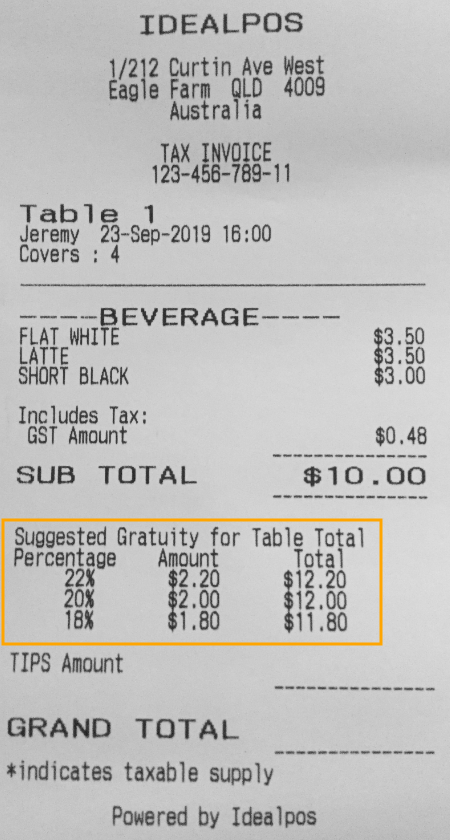
When Print Suggestion on Bills is enabled as per the Function Descriptor above, Bill prints will include the Suggested Gratuity for Table Total at the bottom of the Bill.

The Gratuity Rates include the following:

Percentage - The Gratuity Percentage

Amount - This is the Gratuity percentage expressed as a dollar value, calculated from the Sub  Total of the Bill.

Total - This is the Total of the Bill, including the Gratuity Amount.

The below example of a Bill demonstrates the Gratuity Text function.


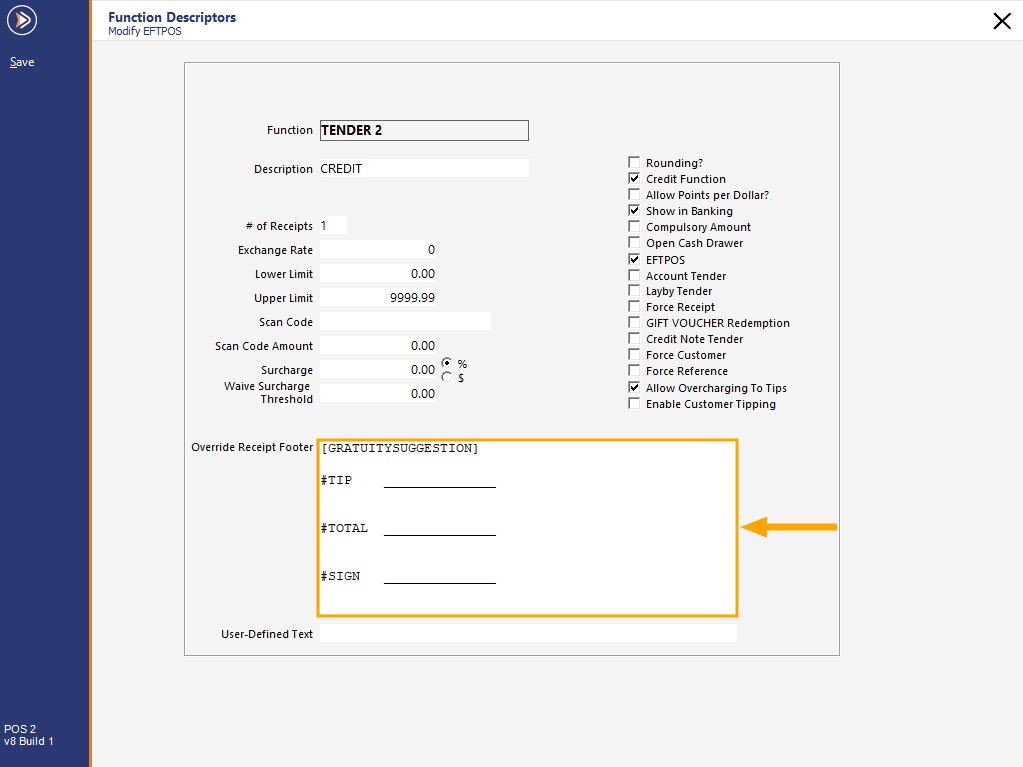
It is also possible to have the Gratuity Suggestions print at the bottom of the final Receipt in the Receipt Footer.

This may benefit venues in the United States that typically use post-transaction tipping, where tips are applied after the customer has left the premises.

A [GRATUITYSUGGESTION] tag can be entered into the Override Receipt Footer field within the Function Descriptor.


From the list of Function Descriptors, select the Tender that customers pay for sales using their Credit/Bank card (e.g. Credit, EFTPOS, etc.)

Then configure the Function Descriptor as-per the below screenshot:

The below example includes additional lines at the bottom of the receipt which allow the Customer to write the Tip amount, Total amount and their Signature.

These are optional and the text entered for TIP, Total, Sign or the underscores (_) can be adjusted or modified as required.

The "#" character before the text will trigger the text to be printed in bold type on the receipt footer.

Also note that additional receipts may be required dependent on whether the customer requires a copy and if they are placing a tip.

E.g. a receipt copy for the venue showing the tip amount for manually processing the post-transaction tip and another copy for the customer.

Receipts can be printed via the Receipt button on the POS screen using the "DUPLICATE RECEIPT" function

You can also modify the # Receipts field of the Function Descriptor to always print 2 receipts.


[GRATUITYSUGGESTION]


#TIP          ____________


#TOTAL      ____________


#SIGN       ____________


Return to top


Promotions

This function allows you to change the Promotions text that is printed on a customer receipt.

This applies when promotions have been triggered and are printed on a receipt.


Return to top


LAYBY

This function allows you to change the name of the Layby function that appears throughout the Idealpos application.

The default Layby descriptor used by Idealpos is Layby, however, some regions may refer to Laybys as Layaways.

Areas of Idealpos which use the Layby descriptor include Report Descriptions, Report content, POS Screen prompts, Yes/No Options and Help in Yes/No Options.


Return to top